Do you want to learn how to lay sod? Then you are in the right place! In this blog, we will share a step-by-step guide that will simplify this process for you. Before laying the sod, make sure to read this article carefully.
Sod installation is one of the most common steps of every lawn care program. We know that many homeowners compare sod and seed, but we already created a post about it. Today we are going to focus on sod and how to lay it.
First, you must understand what sod is and the main reason to lay it in your garden. Sod consists of grass and a soil layer, held together by severed grass roots. The main benefit of sod is that it offers immediate gratification as it is mature grass. In other words, it will instantly give a finished look to your lawn.
This laying process is ideal for all types of sod, including warm-season grass.
Let’s not waste more time next; we will list each of the steps you need to follow if you want to lay sod on your landscape.
Follow These Steps to How to Lay Sod on Your Garden
When it comes to getting a healthy lawn quickly, nothing beats sod grass.
This type of grass has a great power of adaptation and regeneration. That is why you can install sod at any time of the year and on all soil types, flat or sloping. It is the definitive solution for both public and private gardens. Laying sod is a very simple task to do if you follow our tips.
Learning how to lay sod will be easy if you follow these steps:
- Buy the sod and prep the soil.
- Lay the first row and continue unrolling the new sod.
- Water the new sod to help it settle.
- Mow and fertilize the sod to finish the process.
Now that we have listed each step of this guide, it’s time to explain how to start this project. Just take your tools and follow our instructions to do a DIY sod installation.
Buy the Sod and Prep the Soil
First, you need to take measurements of your landscape to make sure you purchase enough sod to cover your yard. Make sure you measure your garden in square feet.
We know that it sounds a little complicated, and that is why we recommend you measure the width and length of the patio. Use a measuring tape to simply the process. Then just multiply the two measurements together, and you will get an idea of the size of your garden.
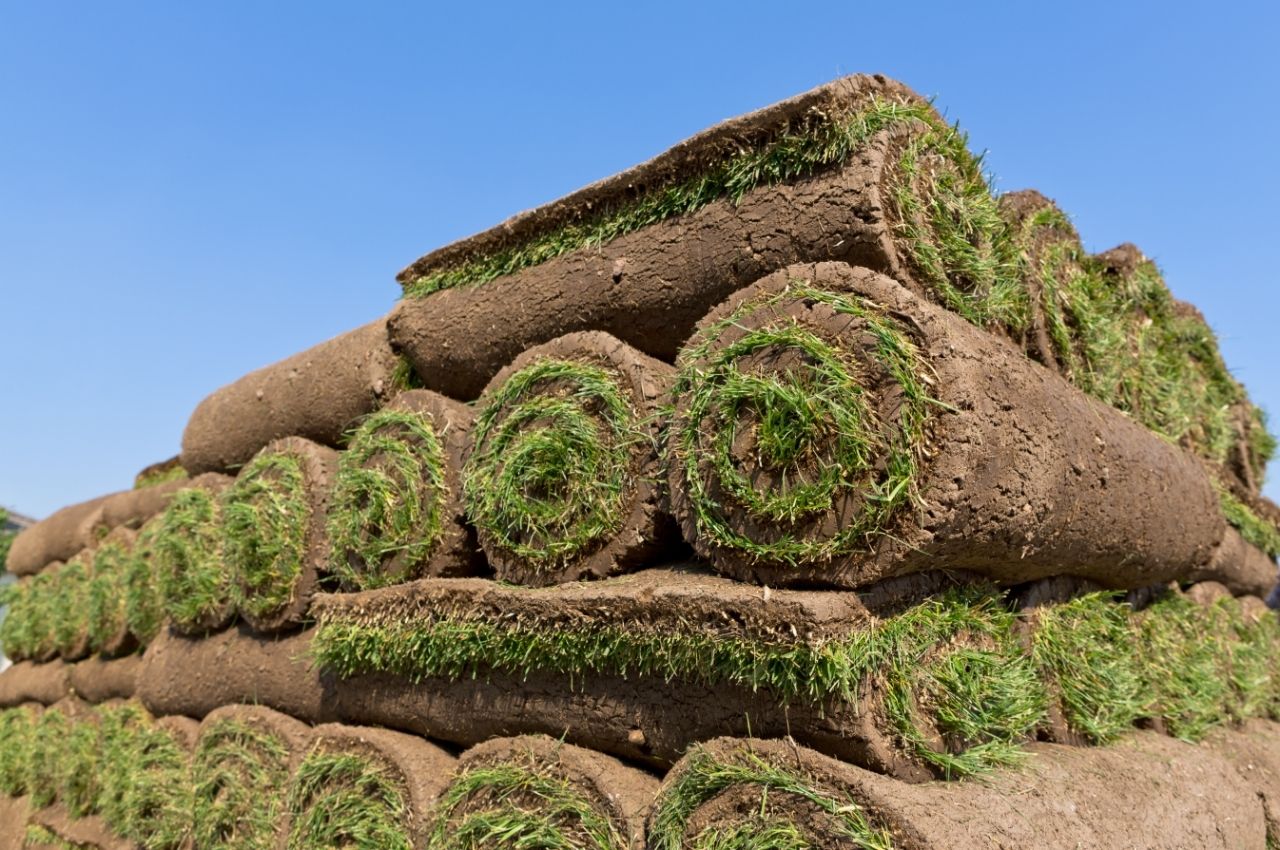
Once you measure your garden, then you are ready to buy sod. The sod farms offer different sizes of cuts, so you can select the one that better fits your landscape. There is sod in strips and slabs.
Now that you bought the sod, you need to prepare the soil for the next step. The new grass cannot be placed over existing growth, so prepare the lawn and kill the weeds. Follow these simple steps to prepare the soil:
- Water the area.
- Spray herbicide.
- Lay compost and let it sit.
- Use a soil test kit to make sure the pH level is ideal.
When finishing these steps, your soil will be ready to receive the new sod.
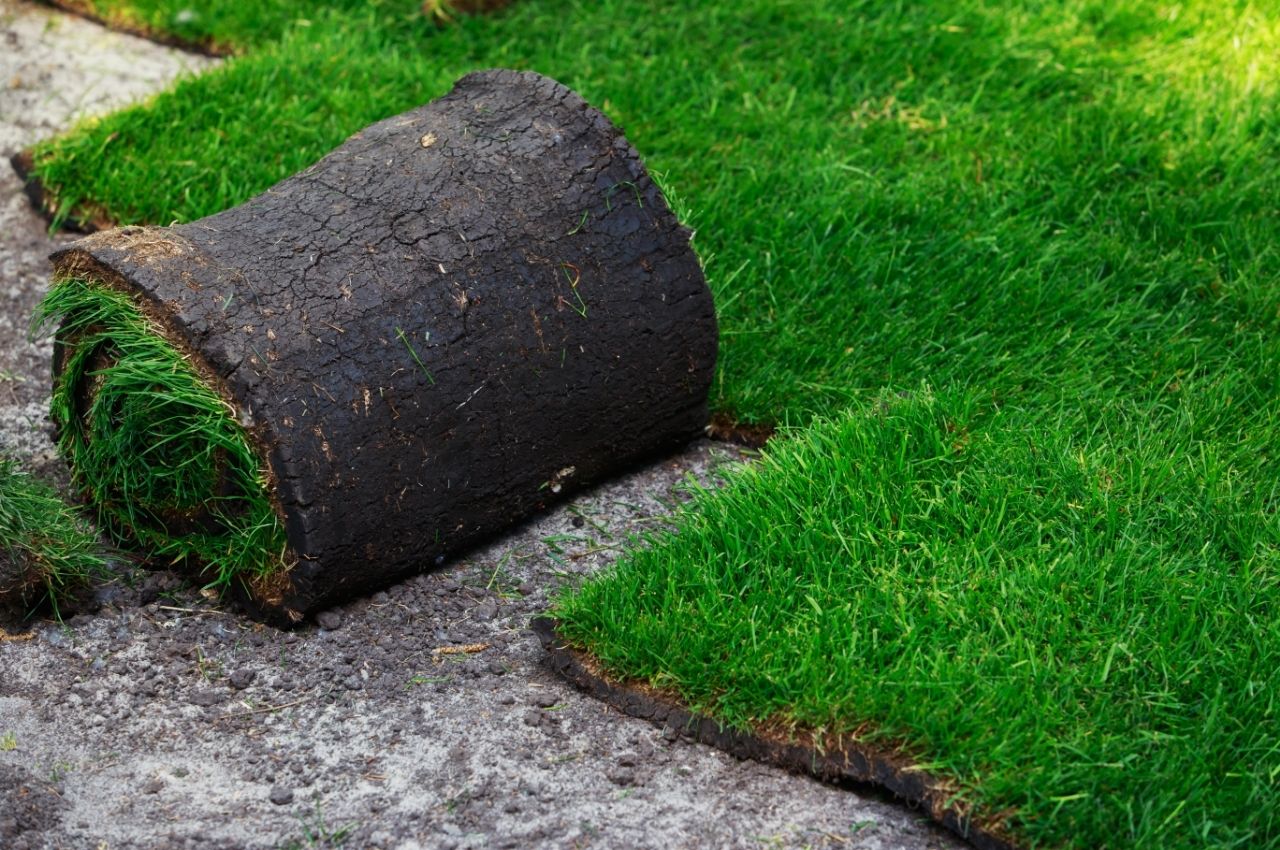
Lay the First Row and Continue Unrolling the New Sod

At this point, you are ready to lay the first row of sod.
Start by unrolling the first row of sod along a straight line in your lawn. Try to follow the line of the fence or driveway to keep the edges straight. If you want to avoid any bump under the surface, then rake the soil as you lay the sod. Be careful when you start laying the sod, or you will damage the entire roll.
After you laid the first row, use a sharp knife to cut off the next piece as needed. You need to ensure they are laid flush with one another. Then just continue patting each row into the ground to remove the air pockets.
You should also use the knife to cut out holes for in-ground sprinkler heads.
Water the New Sod to Help It Settle
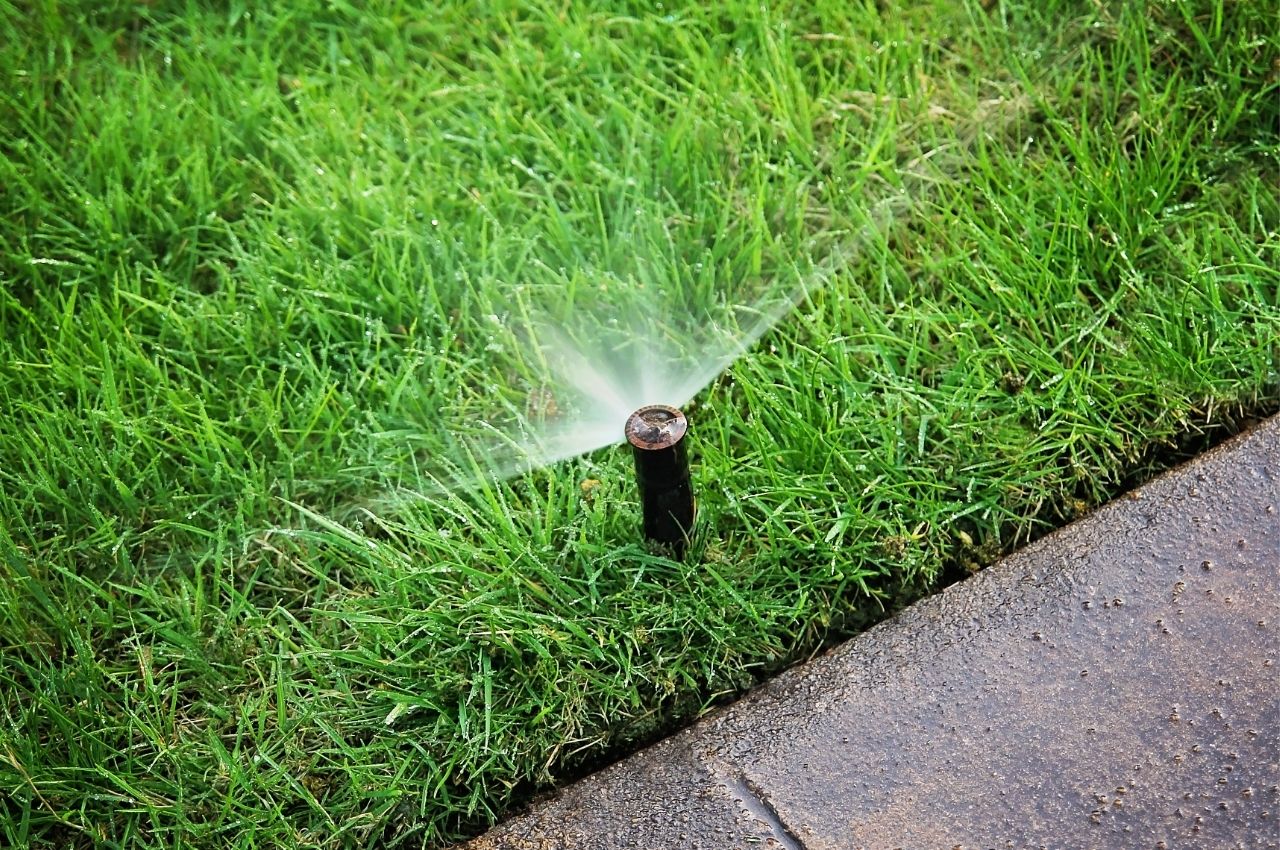
Water the new sod after laying it, so you will make sure it thrives. We recommend watering the sod daily for the first week, apply at least one inch of water. You must avoid walking on it, or you will damage the entire roll. The original soil beneath it should be moist but not muddy.
We all know that turf is a living plant, so it requires moisture to survive and grow. Once it begins to grow, then you can water it twice per day, in the morning and afternoon.
Remember, you need to ensure the water gets to all corners and edges of the lawn. After the first week, it is ideal for reducing the irrigation to every other day and then twice per week.
Mow and Fertilize the Sod to Finish the Process
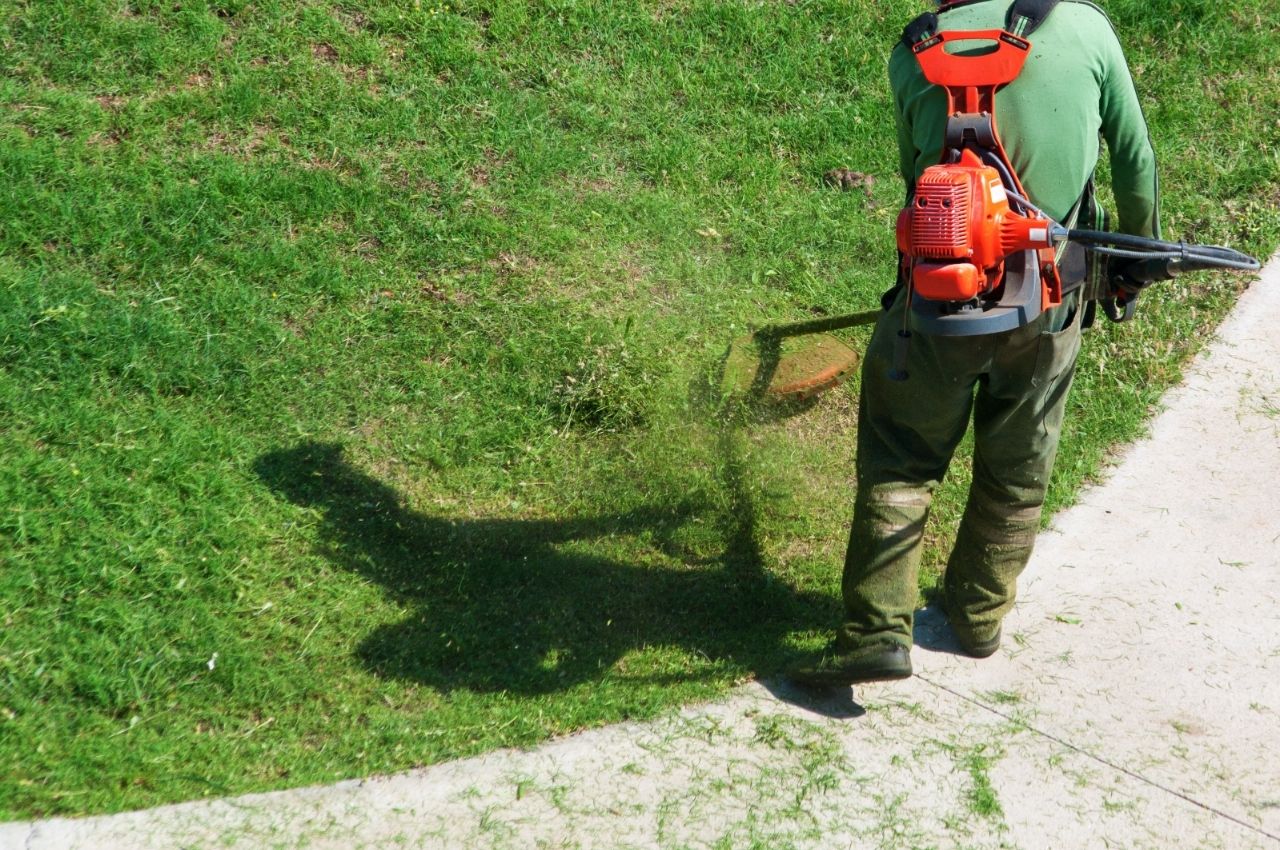
To finish the process, you just need to mow and fertilize the new sod. You need to wait until the grass reaches three inches high and then mow it down two inches. Consider that the new lawn is fragile, so you must use a walk-behind mower to avoid damaging it.
To fertilize your lawn correctly, then let it grow for three to four weeks. Feed it again with a starter fertilizer to provide it with nutrients. You need to feed the sod 3-4 times during the growing season to ensure it remains healthy.
Common Mistakes to Avoid When Laying Sod
When it comes to laying sod, there are many mistakes that you need to avoid. At this point, you must be ready to lay your new sod, but here are some extra tips that will help you ensure your project’s success:
- Avoid scheduling the day of delivery too far in advance.
- Do not lay the sod unevenly.
- Failing to prep your soil.
- Do not overwater the soil.
Now that you have read our guide, you must be clear on how to lay sod. Remember to prepare the soil, lay the first row, continue with the other rows, water the new lawn, and then mow and fertilize the sod.
If you already followed all of these instructions and still have problems laying your sod, give us a call. Saltos Landscaping LLC is here to help you.